Floor Sanding
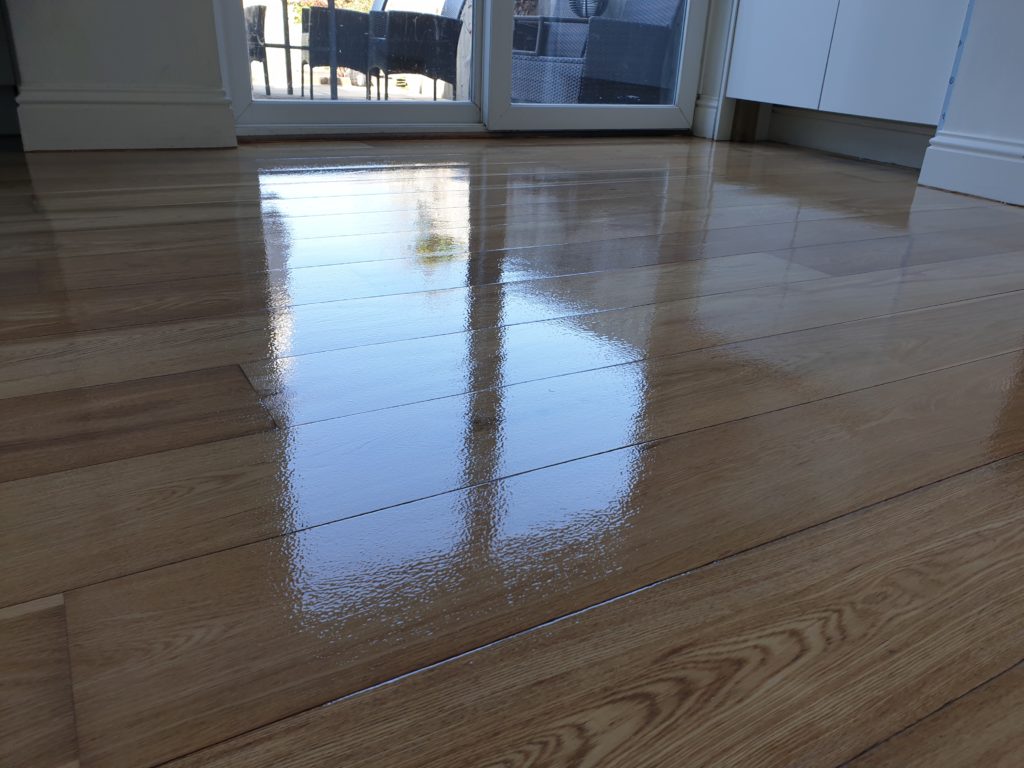
Before we can begin sanding, we start by assessing the floors. It is at this stage we will check for damaged or loose floorboards, as well as checking for any cut-clasp nails sitting proud (very important as these can easily take chunks out of the main drum). For Hardwood strip and Parquet floors, we will check first check the wear-layer, followed by checking for any loose or hollow sounding blocks. Once we’re satisfied the floors are secure and any repairs have been taken care of, it’s time for sanding!
It may be necessary to begin at a 25-45 degree angle, depending on how flat the floors are. In doing so, this will help to level the floors and also remove any cupping -if present. The second step of the process is to then sand the floors in the direction of the grain (impossible for Parquet -we know). It’s important to use a new abrasive of the same grit for this step, as it will ensure all the previous diagonal scratches are properly removed.
Medium Floor Sanding
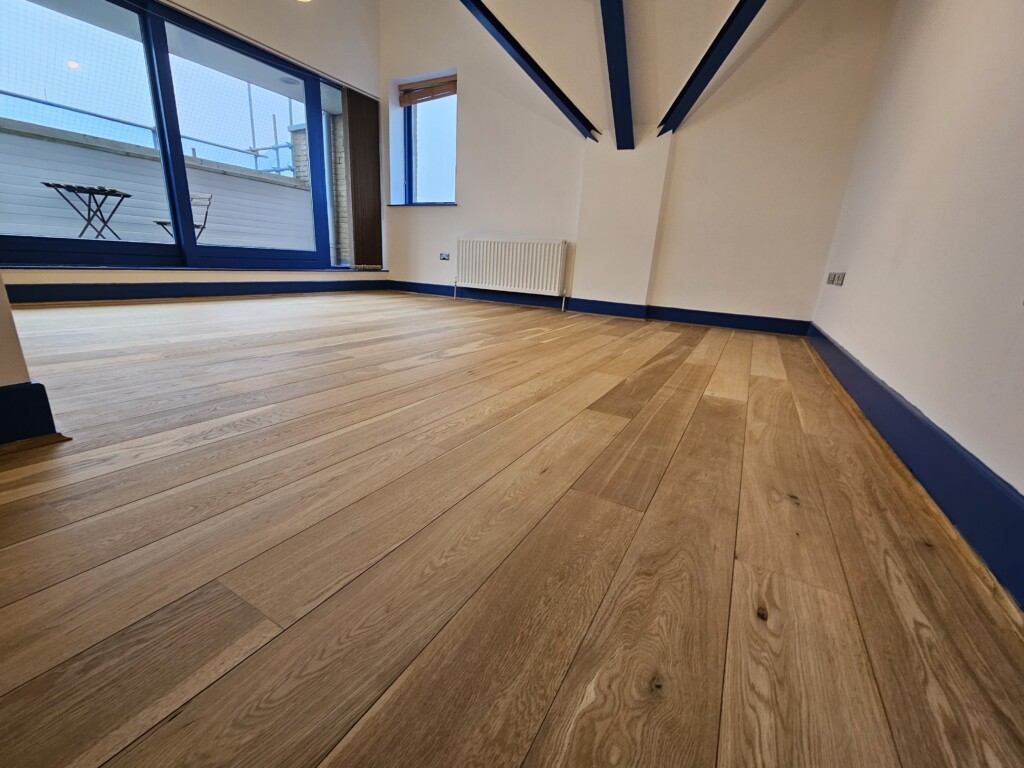
For the medium process, we usually start at either a 50 grit or 60 grit -depending on our initial phase and also how much material we have to work with in regards to the floor thickness. We find the medium sanding to be an important stage in the process as it’s what transitions the floors from coarse to smooth and also seems to remove some of the smaller imperfections the coarser abrasives couldn’t quite get to.
At this stage the floors will really start to take shape. Not only will the floors now look a lot flatter, they will also feel much smoother and be free of the deeper scratches from the previous process.
We always suggest giving the floors another thorough vacuum at this point. This will ensure the floors are free of any abrasive fragments and help achieve fat greater results for the next step ‘Fine Sanding’.
Fine Floor Sanding
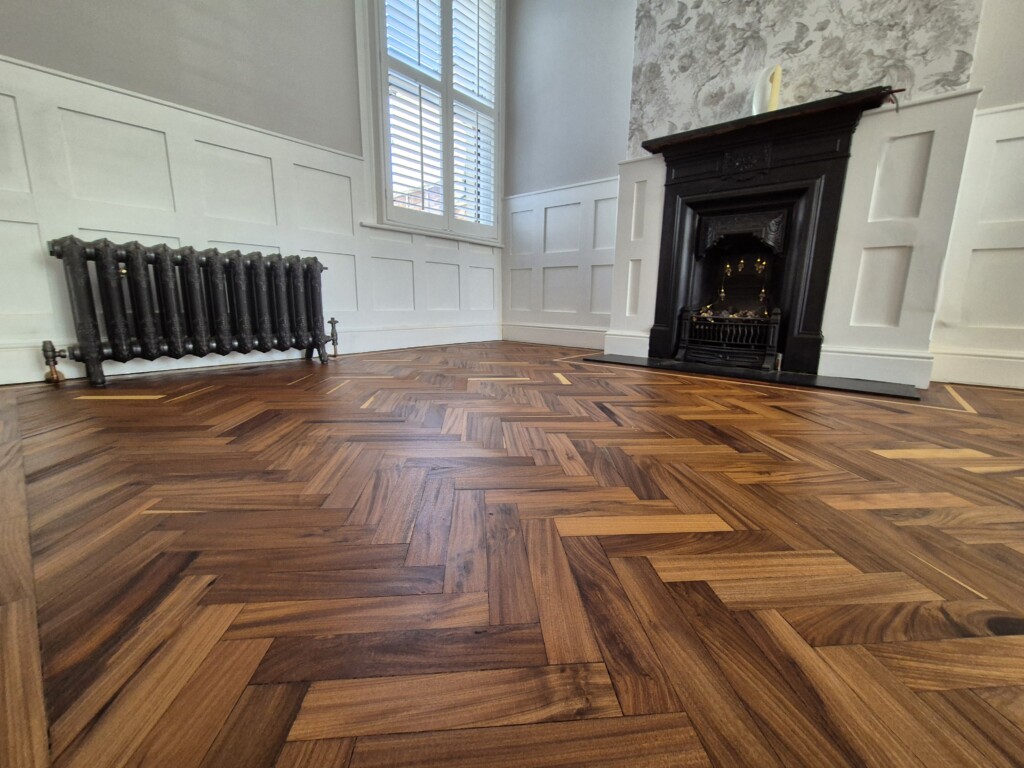
Now that the floors have been vacuumed, we prepare our machine for the final-phase with the belt sander. We’ll do this using an 80 grit sand paper followed by 120. The floors will now be extra smooth to the touch, free of all imperfections and best of all; nearly ready for a finish to be applied! But first we must move on to our final stage of the process: ‘Fine Floor Sanding’.
For fine floor sanding we use a specialist machine called the Bona Flexisand 1.9. Our team carefully buff the entire floor. In using the multi disc plate we can provide and even scratch pattern (not visible to the eye) that is crucial for the finishing process. This will prevent the dreaded ‘halo’ effect around the perimeter of the room, which will become visible when a finish is applied.
It’s important to note: all of the above stages must also be carried out to the edges of the rooms. This is done using our edge sander for the coarse and medium sanding. With the final-phase carried out using our Festool Rotex random orbital sander.
